
Homemade Kimchi is a probiotic powerhouse and a kitchen staple that brightens meals with tang, heat, and crunch. Did you know Americans now buy more fermented foods year over year, making kimchi one of the top trending condiments? If you want reliable results, this Homemade Kimchi guide beats vague recipes, with clear timing, troubleshooting, and flavor tweaks for North-American kitchens. In this guide, you’ll learn how to make, vary, store, and rescue your kimchi for consistent, delicious batches.
Try our homemade chili seasoning to customize your kimchi heat level and get predictable spice intensity when blending pastes.
What Is Homemade Kimchi?
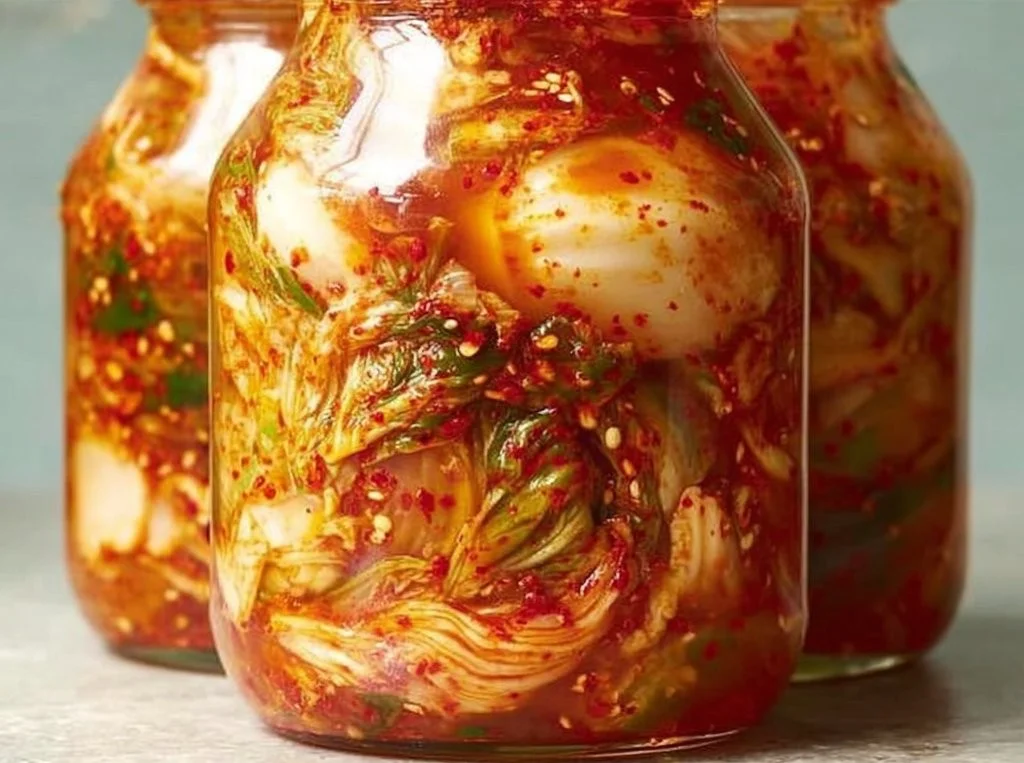
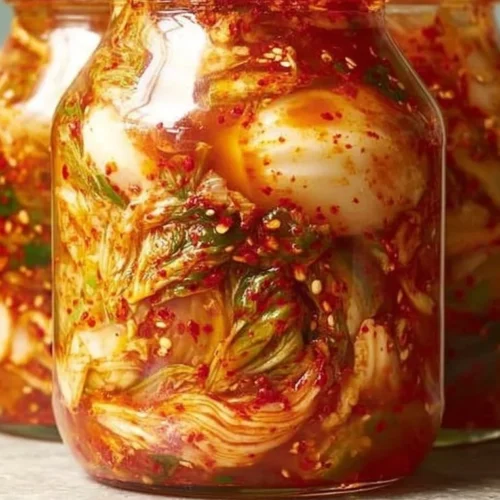
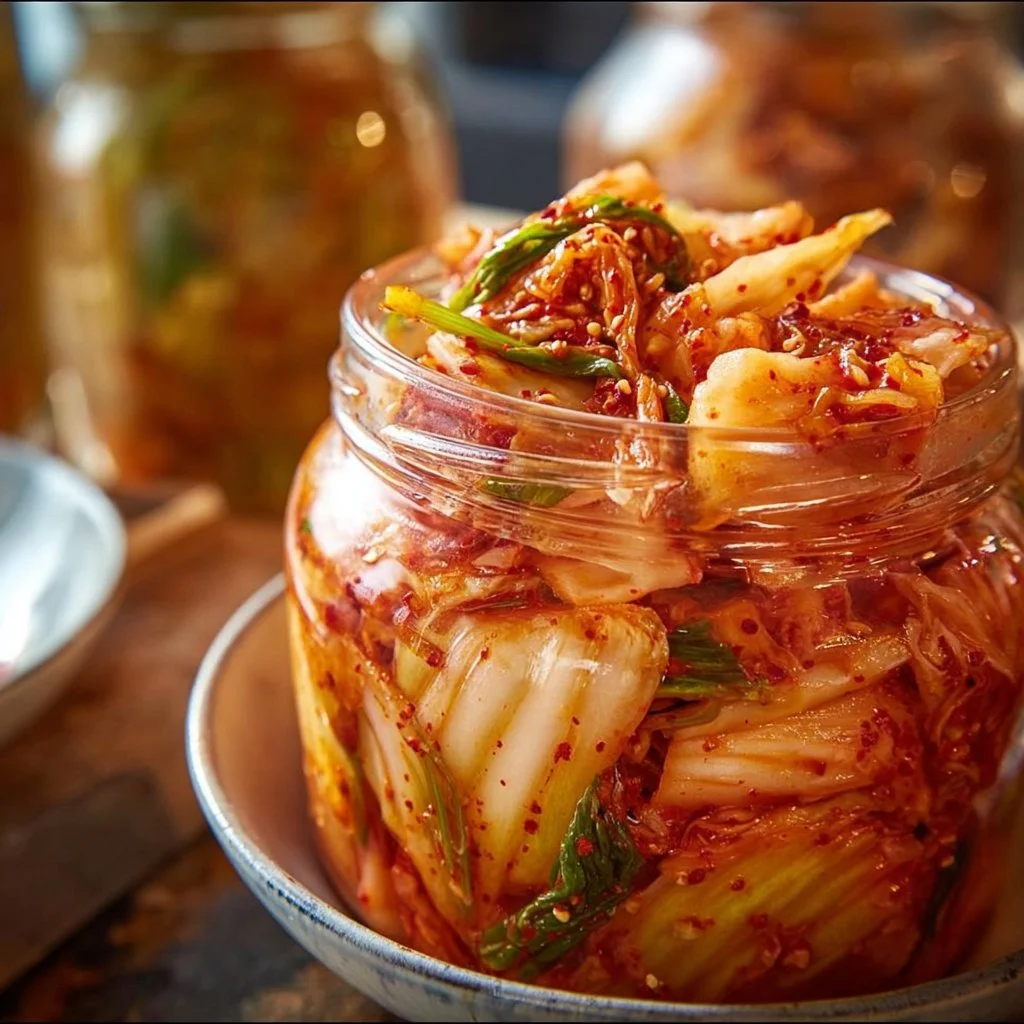
Kimchi is a traditional Korean fermented vegetable dish, most commonly made from napa cabbage, Korean chili flakes, garlic, and ginger. Fermentation develops lactic acid, which preserves the veg and creates tang and complex flavors, plus beneficial bacteria for gut health.
Homemade kimchi differs from store-bought by letting you control salt, spice, and add-ins, and it can be tailored for quick fermenting or long storage. Nutritional impact varies by recipe, but kimchi is low in calories and rich in vitamins and fiber.
Quick Facts about Homemade Kimchi:
- Typical serving: 30 g per side, roughly 10–20 kcal.
- Main nutrients: Vitamin C, Vitamin K, fiber, trace iron (values vary).
- Fermentation time: 1–5 days at room temp (20–22 C).
- Preservation: Refrigerate after preferred tartness, lasts 1–3 months.
- Research note: For safety and probiotic benefits, see USDA guidance at usda.gov.
Learn to pair fermented flavors with herby condiments, a great way to use kimchi in fusion dishes.
Homemade Kimchi
Ingredients
Main Ingredients
- 1 head napa cabbage Cut into quarters
- 1 cup Korean chili flakes (gochugaru) Adjust to taste for spiciness
- 5 cloves garlic Minced
- 2 inches ginger Grated
- 1 cup water For the paste mixture
- 1 medium carrot Optional, thinly sliced
- 3 stalks green onions Optional, chopped
- 4 tablespoons salt For salting cabbage
Instructions
Preparation
- Cut the napa cabbage into quarters and sprinkle salt between the leaves. Let it sit for 1-2 hours, turning occasionally.
- Rinse the cabbage thoroughly with water to remove excess salt and let it drain.
- In a bowl, mix chili flakes, minced garlic, grated ginger, and water to form a paste.
- Optional: Add thinly sliced carrots and chopped green onions to the paste.
- Massage the paste into the cabbage, ensuring all leaves are coated.
- Pack the mixture tightly into a clean jar, leaving some space at the top.
Fermentation
- Seal the jar and let it ferment at room temperature for 1-5 days, tasting daily until it reaches your desired flavor.
- Once fermented, store in the refrigerator.
Notes
Nutrition
Step-by-Step Instructions
Follow these steps for predictable texture and flavor. Each step includes the action and expected result so you can monitor progress.
Cut the napa cabbage into quarters and sprinkle salt between the leaves. Let it sit for 1-2 hours, turning occasionally.
- Action: Salt draws moisture out of cabbage.
- Expected result: Leaves soften, volume reduces by about 30 to 40%.
Rinse the cabbage thoroughly with water to remove excess salt and let it drain.
- Action: Removes surface salt to prevent over-salted kimchi.
- Expected result: Cabbage tastes balanced after fermentation.
In a bowl, mix chili flakes, minced garlic, grated ginger, and water to form a paste.
- Action: Create the seasoning paste for the kimchi.
- Expected result: Paste is spreadable, not runny, coating leaves evenly.
Optional: Add thinly sliced carrots and chopped green onions to the paste.
- Action: Introduces crunch and sweetness.
- Expected result: Vegetables add color and balanced texture.
Massage the paste into the cabbage, ensuring all leaves are coated.
- Action: Even distribution helps even fermentation.
- Expected result: Every leaf carries seasoning for consistent flavor.
Pack the mixture tightly into a clean jar, leaving some space at the top.
- Action: Remove air pockets, submerge veg under brine.
- Expected result: Anaerobic environment for lactic acid bacteria.
Seal the jar and let it ferment at room temperature for 1-5 days, tasting daily until it reaches your desired flavor.
- Action: Fermentation converts sugars to acids.
- Expected result: Flavors move from sweet to tangy; aroma becomes pleasantly sour.
Once fermented, store in the refrigerator.
- Action: Slow fermentation to preserve the current flavor.
- Expected result: Kimchi keeps for 1–3 months, flavor matures with time.
Use leftover kimchi brine in small batches of salads or dressings for a probiotic boost.
Variations & Substitutes
Adjust kimchi to diet, region, and preference without losing core fermentation.
- Vegetarian: Omit fish sauce, use soy sauce or seaweed for umami.
- Low-sodium: Reduce salt by 20%, extend fermentation to reach acidity safely.
- Quick kimchi: Chop fine, ferment 24–48 hours for milder tang.
- Spicy level: Swap Korean gochugaru for milder paprika or hotter chilies to change heat.
- Regional twist: Add apples or pear for natural sweetness, common in some Korean households.
How it changes:
- Flavor: Fruit adds sweetness, soy adds savory depth.
- Time: Less salt equals faster fermentation.
- Nutrition: Fruit increases simple sugars and micronutrients slightly.
Mistakes to Avoid
Common beginner errors and how to fix them, presented as a checklist for quick scans.
Checklist:
- Over-salting, fix: Rinse lightly and dilute brine for future batches.
- Not packing tightly, fix: Press down, use a weight to keep veg submerged.
- Using dirty jars, fix: Sterilize jars in hot water first.
- Skipping daily tasting, fix: Taste from day 1 to avoid over-fermentation.
- Adding too much water to paste, fix: Reduce water to keep paste paste-like for coating.
Tip: Make a small test jar if you want to tweak spices before committing a full batch.
Storage, Reuse
Store kimchi in the fridge in an airtight jar, label with date. Use within 1–3 months for best texture.
- Reuse ideas:
- Stir into fried rice, expected result: bright, tangy heat.
- Chopped in tacos, expected result: fresh crunch and acidity.
- Use brine for quick pickles, expected result: instant fermented flavor.
Related Recipes / See Also
If you love this, try our homemade pesto guide for herb-forward pairings, our chili seasoning recipe to calibrate spice, and explore sweet-sour texture contrasts with homemade jello ideas.
Conclusion
Homemade kimchi is low-cost, adaptable, and rewarding, adding probiotics, brightness, and depth to everyday meals. Follow these steps, watch the fermentation, and you will consistently produce flavorful kimchi to enjoy across many dishes.