Craving a juicy burger without the bun, carbs, or cleanup? High-protein cheeseburger bowls deliver that satisfying, savory hit while keeping macros on track. This High-Protein Cheeseburger Bowls recipe is built for busy North-American kitchens, meal prep, and Facebook or Pinterest sharing.
Many readers prefer a clear, reliable guide, and this one beats the rest with tested timing, swap-friendly options, and nutrition-savvy tips. If you want fast meal prep or a protein-packed weeknight win, this guide is for you. In this guide, you’ll learn how to cook, assemble, and store cheeseburger bowls that stay tasty for days, plus smart swaps and common mistakes to avoid.
For fast meal prep strategies that pair well with this bowl, check our high-protein meal prep ideas for batch-friendly inspiration.
What Is High-Protein Cheeseburger Bowls?
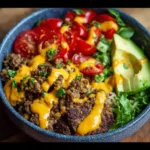
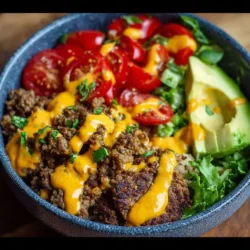
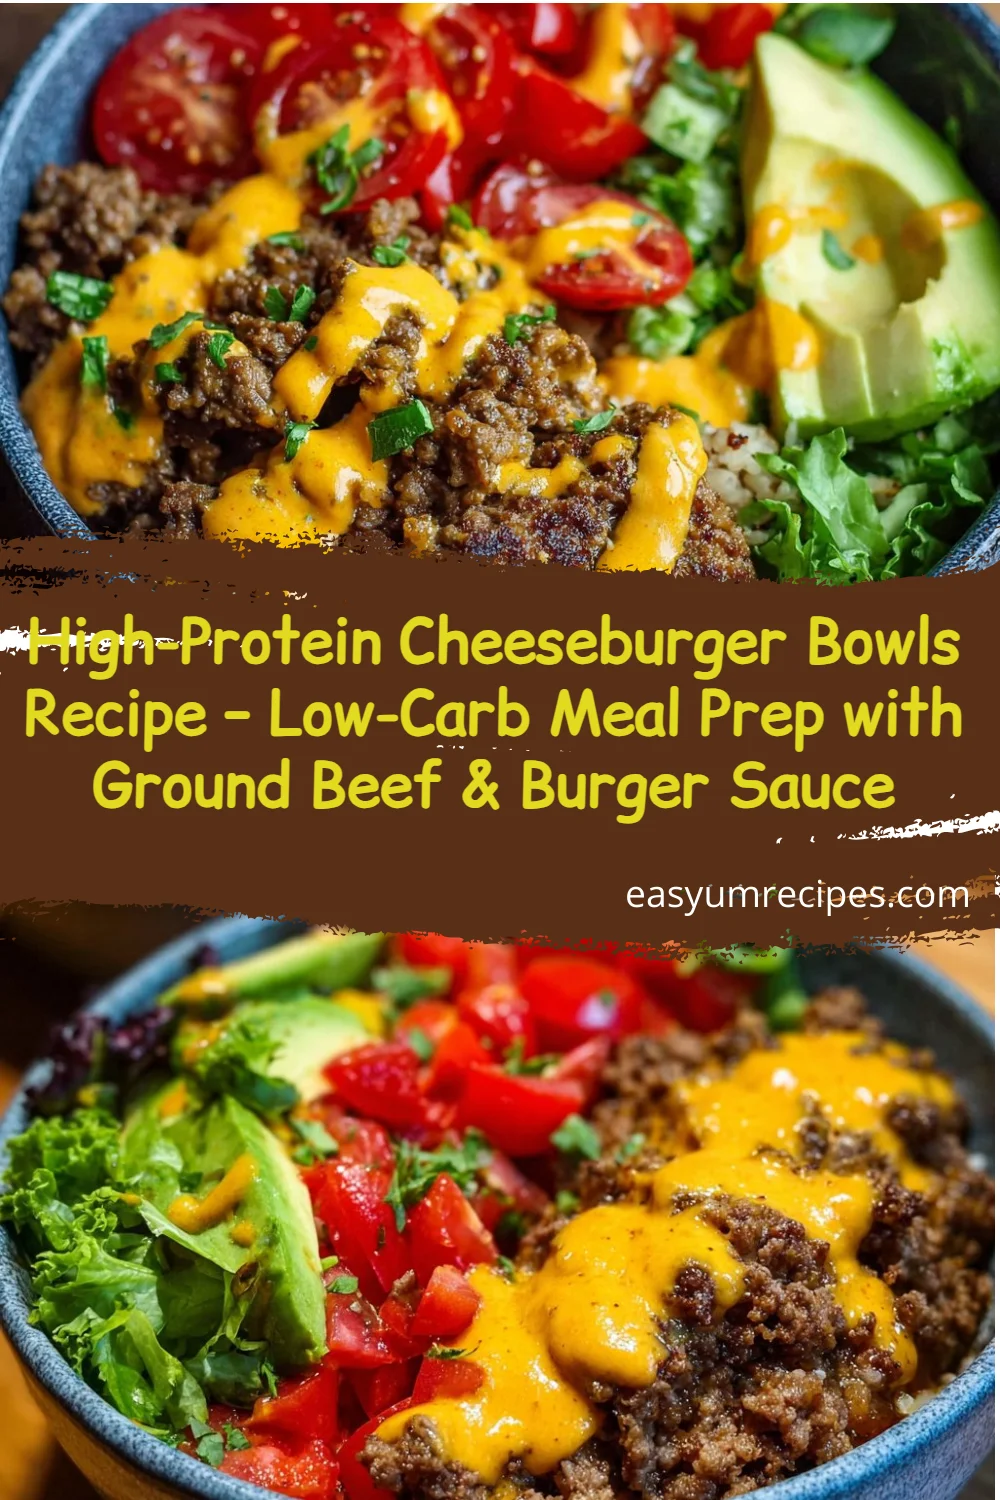
High-Protein Cheeseburger Bowls are deconstructed burgers served over a low-carb base, often lettuce or cauliflower rice, topped with seasoned ground beef, cheese, and a tangy burger sauce. They mimic burger flavors while lowering carbs and increasing protein per serving.
These bowls are perfect for meal prep, portion control, and customizing for keto, paleo, or balanced diets. They work well for families, single-serve lunches, or game-day spreads.
For flavor ideas and hearty beef recipes, see our curated collection of high-protein beef recipes.
High-Protein Cheeseburger Bowls
Ingredients
Base ingredients
- 300 g Romaine lettuce Shredded, for a low-carb option
- 400 g Cauliflower rice Steam for a tender option
Beef ingredients
- 500 g Ground beef 80/20 blend recommended for flavor
- 1 tsp Salt
- 0.5 tsp Pepper
- 0.5 tsp Garlic powder
- 0.5 tsp Onion powder
Toppings
- 100 g Tomatoes Sliced
- 50 g Pickles Sliced
- 50 g Red onion Sliced
- 120 g Cheddar cheese Shredded
Burger sauce
- 120 g Greek yogurt For creaminess
- 2 tbsp Ketchup
- 1 tbsp Mustard
- 0.5 tsp Garlic powder
- 0.5 tsp Smoked paprika
- to taste Salt and pepper Adjust according to preference
Optional toppings
- 1 Fried egg For extra protein and richness
- 30 g Bacon 2 slices recommended
- 100 g Avocado 1/2 for creaminess
Instructions
Cook the meat
- In a skillet over medium heat, brown the ground beef with salt, pepper, garlic powder, and onion powder. Stir until cooked through, about 8-10 minutes. Drain excess fat.
Prepare the base
- Chop the romaine or steam the cauliflower rice for 3-4 minutes until tender.
Prep toppings
- Slice the tomatoes, pickles, and red onion, and shred the cheddar cheese.
Make the sauce
- Whisk together the Greek yogurt, ketchup, mustard, garlic powder, smoked paprika, and adjust with salt and pepper.
Assemble bowls
- Layer the base, cooked beef, toppings, and cheese. Drizzle with the sauce.
Optional finish
- Top with a fried egg, bacon, or avocado for added protein and richness.
Notes
Nutrition
Step-by-Step Instructions
Follow these steps for consistent, flavorful bowls. Each step lists the action and the expected result so you know when you are on track.
- 1. Cook the meat – In a skillet over medium heat, brown 500 g ground beef with 1 tsp salt, 1/2 tsp pepper, 1/2 tsp garlic powder, and 1/2 tsp onion powder. Stir until cooked through, about 8-10 minutes. Drain excess fat.
– Expected result, evenly browned, crumbly beef with no pink. - 2. Prepare the base – Chop 300 g romaine or steam 400 g cauliflower rice for 3-4 minutes until tender.
– Expected result, crisp lettuce or fluffy cauliflower that holds toppings. - 3. Prep toppings – Slice 100 g tomatoes, 50 g pickles, 50 g red onion, and shred 120 g cheddar cheese.
– Expected result, evenly sliced toppings for easy assembly. - 4. Make the sauce – Whisk 120 g Greek yogurt, 2 tbsp ketchup, 1 tbsp mustard, 1/2 tsp garlic powder, 1/2 tsp smoked paprika, salt and pepper to taste.
– Expected result, creamy tangy sauce that complements beef. - 5. Assemble bowls – Layer base, 125 g cooked beef per bowl, toppings, and 30 g cheese. Drizzle 30-45 g sauce per bowl.
– Expected result, balanced bowls with 30-40 g protein per serving. - 6. Optional finish – Top with fried egg (1), 2 slices bacon (30 g), or 1/2 avocado (100 g) for extra protein and richness.
– Expected result, elevated flavor and texture.
Variations & Substitutes
Adapt these bowls to fit keto, vegetarian, or regional flavor profiles. Simple swaps change texture, time, and nutrition, so consider trade-offs before you swap.
- Keto – use higher-fat ground beef (80/20), full-fat Greek yogurt sauce, and add bacon. Changes, higher calories and fat, lower carbs.
- Vegetarian – swap cooked lentils, 200 g per bowl, for beef and use smoked paprika for depth. Changes, lower saturated fat, higher fiber.
- Regional twist – add 30 g pickled jalapeno and 1 tsp cumin for Tex-Mex flavor. Changes, spicier and more aromatic.
Mistakes to Avoid
Beginners often overcook the beef, overdress the base, or forget to drain fat. Fixes are quick when you know what to check during prep.
- Not seasoning meat enough – Taste and adjust salt, add 1/2 tsp Worcestershire for depth.
- Packing too many wet toppings – Pat tomatoes dry to prevent soggy base.
- Skipping the drain – Remove excess fat to avoid greasy bowls.
- Assembling too early – Store components separately to keep textures fresh.
- Overloading sauce – Start with 20 g and add more to taste.
Chef tip, cool the cooked beef for 5 minutes before packing into meal prep containers to reduce condensation and sogginess.
Pros & Cons
Balancing benefits and trade-offs helps you decide when to use cheeseburger bowls in your meal plan. They are flexible but not perfect for every occasion.
- Pros – High protein (30-40 g), quick to make (25 min), meal-prep friendly.
- Cons – Can be calorie-dense with extras, less handheld than a burger, requires ingredient prep.
Storage, Reuse
Storing components separately extends freshness. Proper storage keeps flavor and texture for reheating or cold meals up to 4 days.
- Refrigerate beef in airtight container, 4 days, 4 C max refrigerator temperature recommended.
- Keep greens separate, use within 2 days for best texture.
- Freeze cooked beef up to 3 months, thaw in refrigerator overnight before using.
Related Recipes / See Also
If you love these bowls, explore other high-protein options to rotate through your weekly plan.
- If you want smoky sausage ideas, try our high-protein kielbasa recipes.
- For hearty lunchtime swaps, check these high-protein sandwich recipes that pair well with salads.
- For poultry-based variety, see our high-protein chicken recipes.
Conclusion
High-Protein Cheeseburger Bowls are a practical, flavorful way to enjoy burger taste without the bun, perfect for low-carb meal prep and quick dinners. Follow the steps, avoid the common mistakes, and mix in variations to keep weekly meals interesting. Enjoy the protein, cut the carbs, and save time in the kitchen.
External nutrition guidance available from Harvard T.H. Chan School of Public Health supports balanced protein choices for overall health: Nutrition Source.