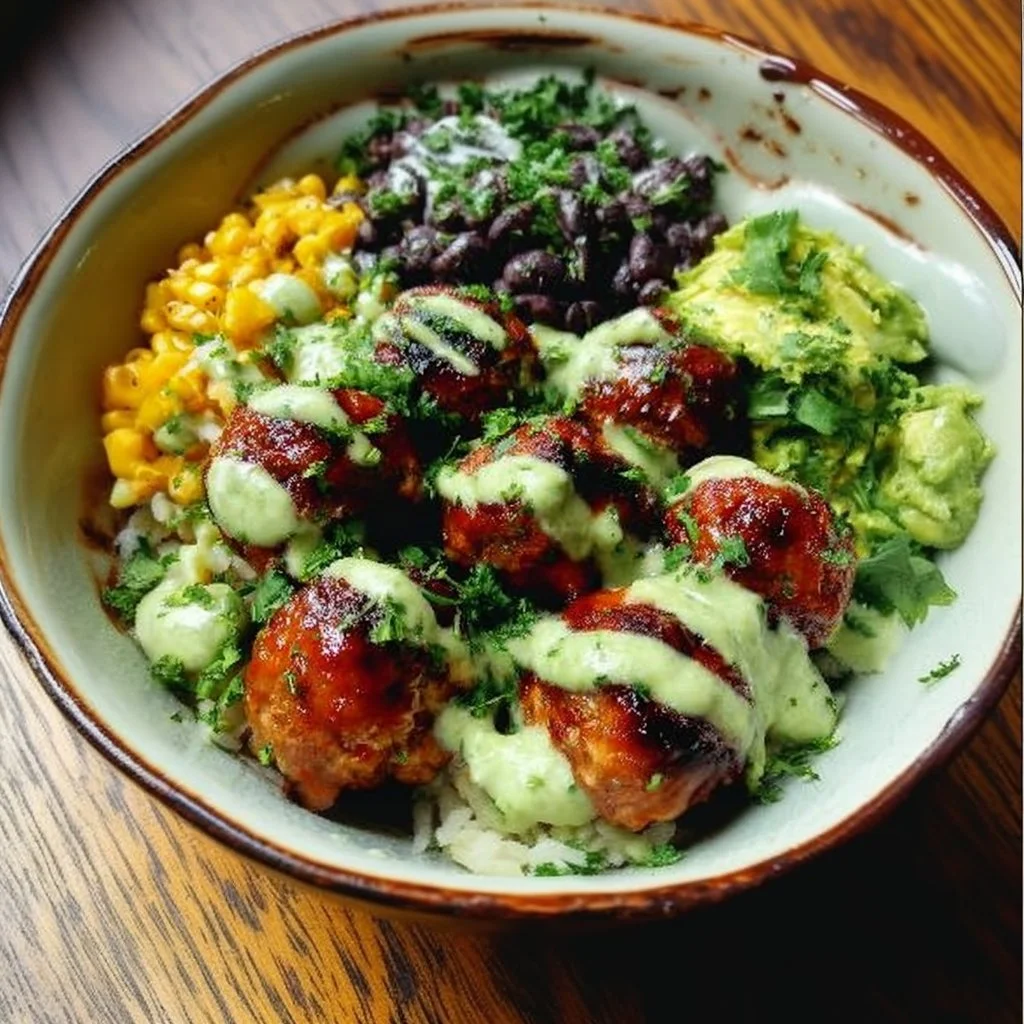
Looking for a hearty, high-protein chili that fuels busy weeks? High Protein Beef Chili packs protein, bold flavor, and easy meal prep into one pot, making it perfect for weeknight dinners or post-workout meals. This guide is sharper than generic recipes, with clear nutrition highlights, substitutions, and practical troubleshooting so you save time and eat smarter.
If you want more high-protein beef ideas, see how to satisfy cravings with high-protein beef recipes in our roundup. In this guide, you’ll learn ingredients, exact steps, variations, storage tips, and common mistakes to avoid.
What Is High Protein Beef Chili?
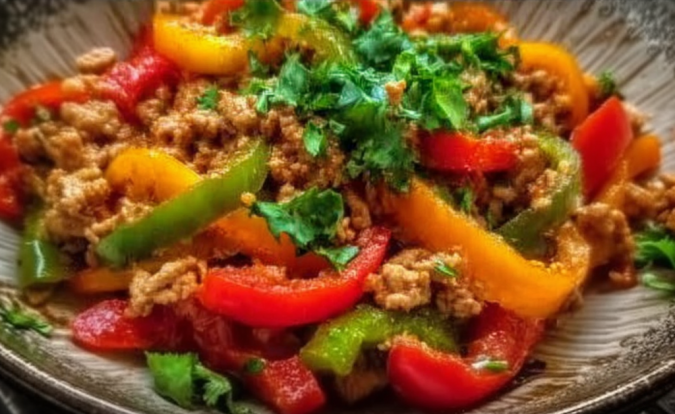
High Protein Beef Chili is a tomato-based stew made with lean ground beef and beans, designed to maximize protein per serving while staying balanced. It emphasizes lean meat, legumes, and modest fat to push protein density without excessive calories.
Nutrition tweaks make it a strong option for meal prep or athletic fueling. For official daily protein guidance, see resources from USDA, which outline safe, evidence-based intake ranges.
Quick Facts about High Protein Beef Chili
- Typical serving: 1 bowl (about 350 g)
- Protein per serving: ~35 g, depending on beef lean %, and beans
- Calories per serving: ~420 kcal, variable by toppings
Ingredients & Nutrition Highlights
Choosing the right beef and beans changes both flavor and macros. Use 90% lean ground beef for a high protein to fat ratio, or 93% lean if you want lower fat. Canned beans save time and add fiber and extra protein.
Nutrition highlights are practical for tracking, and swapping ingredients will change values. Below are quick pros and cons to help you decide which version fits your goals.
- Pros: High protein per serving, good satiety, scalable for meal prep
- Cons: Can be sodium-heavy with canned ingredients, needs spice tuning
- Swap tip: Use low-sodium broth and rinse canned beans to cut sodium by 30-40%
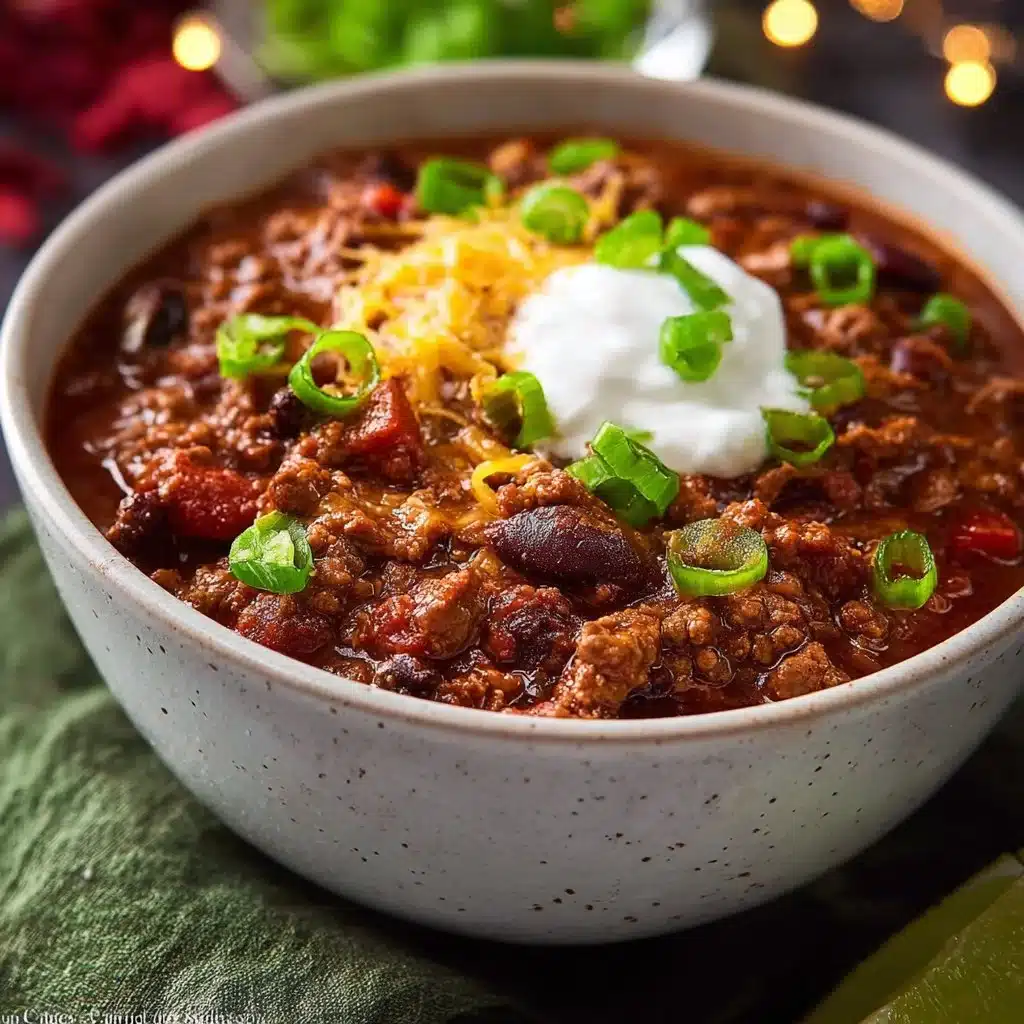
High Protein Beef Chili

A hearty, high-protein chili made with lean ground beef and beans, perfect for meal prep or post-workout meals.
Main Ingredients
- 900 g lean ground beef (Use 90% or 93% lean for high protein to fat ratio.)
- 1 tbsp Worcestershire sauce
- 1 medium onion (diced)
- 3 cloves garlic
- 2 cans canned beans (Rinse to reduce sodium.)
Toppings
- 30 g cheese (Can use dairy-free option like VioLife.)
- to taste nonfat Greek yogurt
- to taste green onions or chives
Preparation
- Brown the ground beef in a large saucepan or Dutch oven over medium-high heat for about 10 minutes until evenly browned and juices are released.
- Drain off excess fat and liquid to reduce calories and improve texture.
- Add the Worcestershire sauce, diced onion, and garlic; cook over medium heat for 5 minutes until the onion is tender.
- Stir in the remaining ingredients, bring to a boil, then reduce heat.
- Simmer over medium-low heat, covered, for 20 minutes. Adjust spices to taste.
- For meal prep, divide into six equal portions by weight into sealed containers.
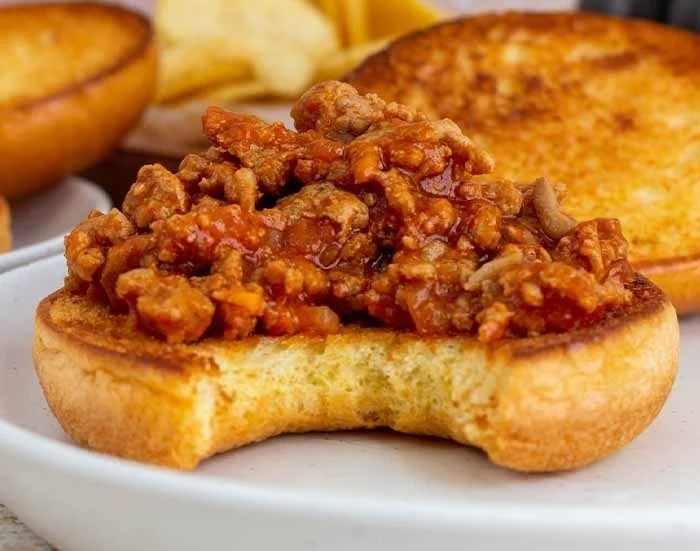
- Garnish with Greek yogurt, cheese, and green onions or chives, if desired. Store in the fridge up to one week or freeze for up to one month.
For best results, avoid common mistakes such as skipping the browning step, not draining fat, over-salting, undercooking aromatics, and improper cooling before freezing.
Step-by-Step Instructions
Follow these actions for reliable texture and flavor. Each numbered step lists the expected result so you know when to move on.
- Action: Brown 900 g ground beef in a large saucepan or Dutch oven over medium-high heat, about 10 minutes.
Expected result: Beef is evenly browned, bits are caramelized, juices released. - Action: Drain off excess fat and liquid.
Expected result: Less grease, cleaner texture, reduced calories per serving. - Action: Add 1 tbsp Worcestershire sauce, 1 medium onion (diced), and 3 cloves garlic, cook over medium heat until onion is tender, about 5 minutes.
Expected result: Aromatics are softened and fragrant, base flavor deepened. - Action: Add remaining ingredients, stirring to combine. Bring to a boil then reduce heat.
Expected result: Flavors meld and chili reaches a gentle simmer. - Action: Simmer over medium-low heat, covered, for 20 minutes. Adjust spices to taste.
Expected result: Sauce thickens, beans soften, spices integrate. - Action: For meal prep, divide into six equal portions by weight into sealed containers.
Expected result: Even portions with consistent calories and protein per meal. - Action: Garnish with nonfat Greek yogurt, 30 g cheese (or dairy-free like VioLife), and green onions or chives if desired. Store in the fridge up to one week or in the freezer up to one month.
Expected result: Bright topping contrast, extended fridge or freezer life.
Learn how this chili fits into breakfast-style meal plans by reading about best high protein breakfast foods for day-long fueling.
Variations & Substitutes
Adjust this chili for keto, vegetarian, or regional spice preferences, and note how each swap affects time and macros. Small changes yield big differences in flavor and nutrition.
- Vegetarian: Replace beef with 450 g cooked lentils plus 2 cans beans, protein drops slightly, prep time similar.
- Keto: Use higher-fat beef and omit beans, protein remains high but carbs drop under 10 g per serving.
- Spice level: Add 1 tsp chipotle for smokiness, increases heat and depth without changing macros.
Mistakes to Avoid
Beginners often overlook steps that impact texture, seasoning, and storage. Avoid these common errors so every batch hits the target.
- Skipping browning – fix: Brown in batches for better caramelization.
- Not draining fat – fix: Drain and blot to reduce grease.
- Over-salting canned ingredients – fix: Rinse beans and taste before adding salt.
- Undercooking aromatics – fix: Sauté onion until translucent, at least 5 minutes.
- Improper cooling before freezing – fix: Cool to room temperature within 2 hours to prevent texture loss.
Storage, Reuse & Meal Prep
This chili is meal prep friendly and reheats well. Use proper containers, label with date, and follow simple thawing steps for best quality.
- Fridge: Store sealed, up to 7 days, 4 C or below.
- Freezer: Freeze flat in bags, up to 1 month, label with date and weight.
- Reheat: Thaw overnight or microwave from frozen until internal temp reaches 74 C.
Related Recipes / See Also
If you love this, try our other protein-focused recipes for variety and meal planning inspiration.
- If you want a protein-packed sandwich, try our 3 easy high protein sandwich recipes.
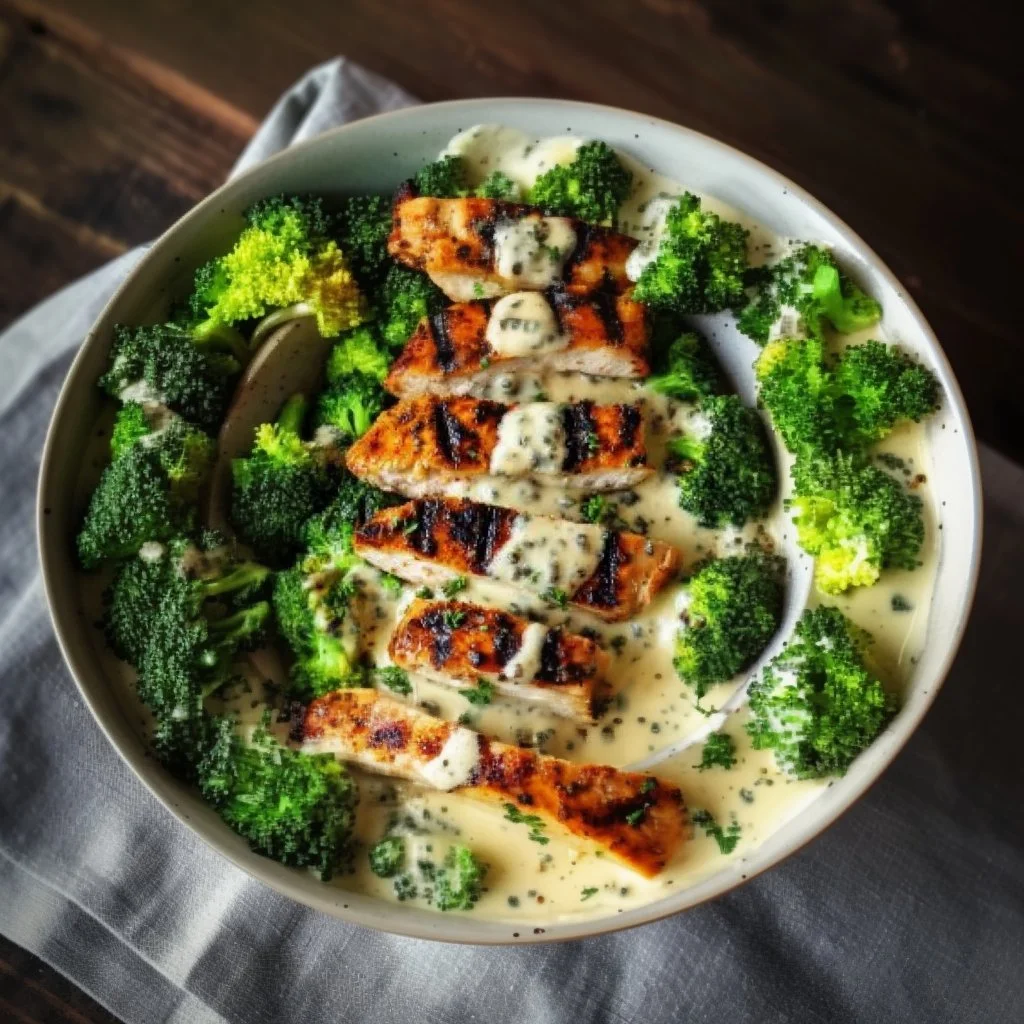
- For more savory mains, explore these 5 high protein chicken recipes you need to try.
- For breakfast options that pair with meal prep, see our best high protein pancakes, healthy breakfast.
Conclusion
High Protein Beef Chili delivers satisfying flavor and strong protein per serving, keeping meal prep simple and nutrition-focused. Use the variations, avoid common mistakes, and store portions properly to enjoy a stress-free, nourishing week.