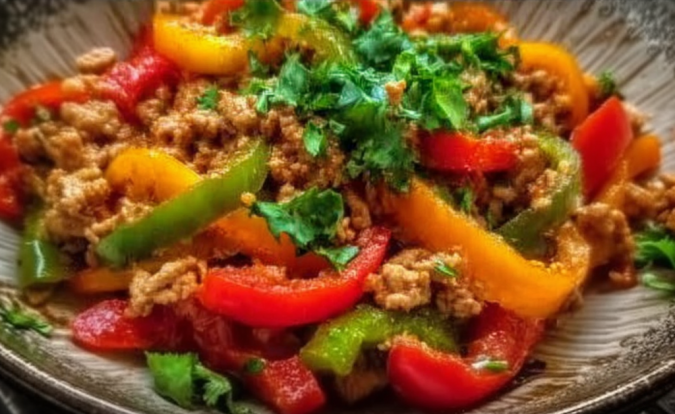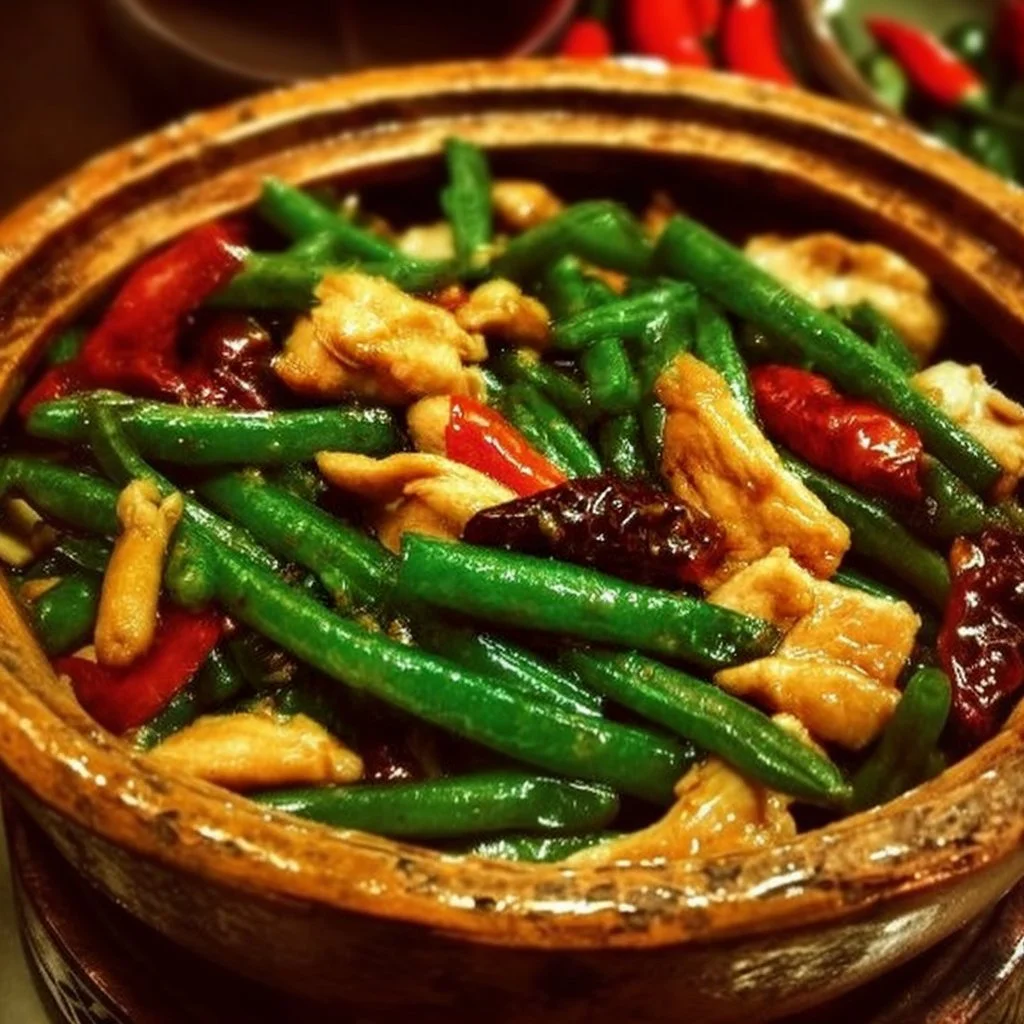

Did you know 1 in 3 home cooks skip protein in fried rice, missing out on satiety and muscle recovery? High Protein Crispy Garlic Chicken Fried Rice delivers both flavor and macros in one skillet, with garlic-forward crisped rice and tender chicken. This guide beats generic recipes by focusing on texture, correct cooking order, and simple swaps for busy weeknights. In this guide, you’ll learn how to make restaurant-quality fried rice that is high in protein and ready in under 30 minutes.
For more high protein chicken inspiration, try our high protein chicken recipes you need to try which pair well with this grain-forward dinner.
What Is High Protein Crispy Garlic Chicken Fried Rice?
This dish is a skillet-style fried rice built around garlic, extra-crispy rice, and lean chicken, designed to boost protein per serving while keeping prep and cleanup minimal. It uses chilled rice, quick-seared chicken, and a hot pan technique to create browning and glossy coating from soy and sesame oil.
Nutrition focuses on protein, moderate carbs, and lower added fat, so it fits active lifestyles and family meals. You can tailor portion sizes to hit calorie goals or add vegetables for fiber and micronutrients.
Quick Facts about High Protein Crispy Garlic Chicken Fried Rice
– Protein per serving, approximate: 35 g
– Serving calories, estimated: 520 kcal
– Main cook time: 20 minutes
– Key technique: use chilled rice for crispy texture
For detailed chicken nutrition, review chicken thigh data on chicken thighs nutrition and protein when swapping cuts.
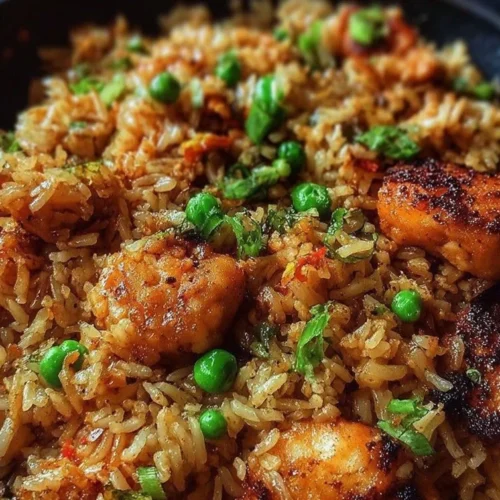
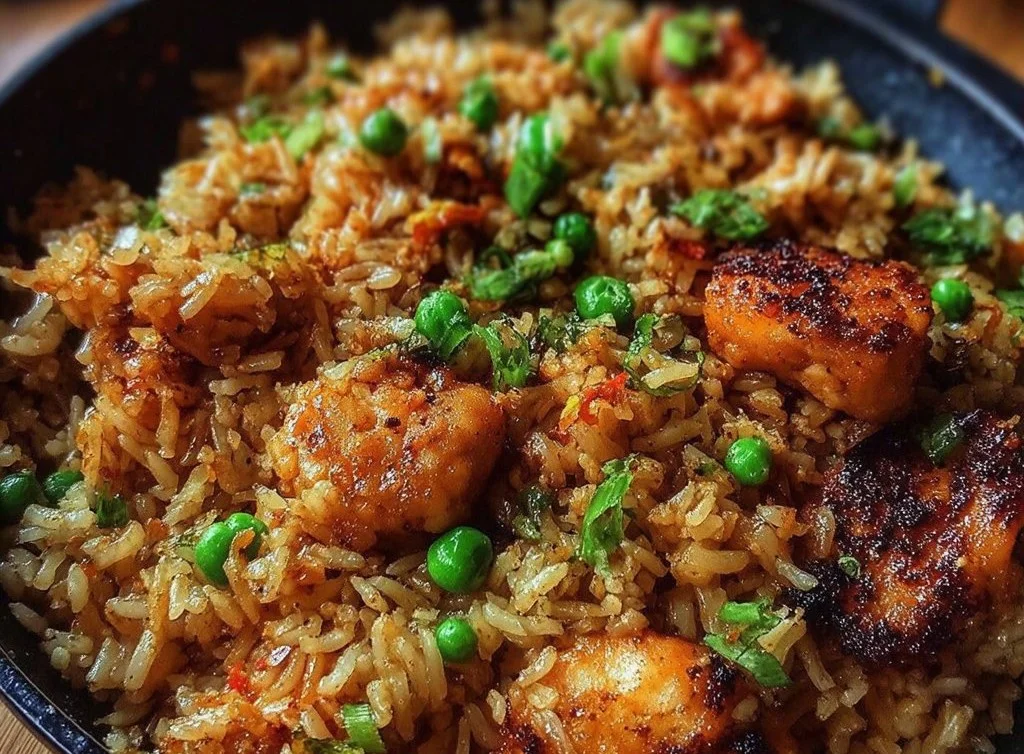
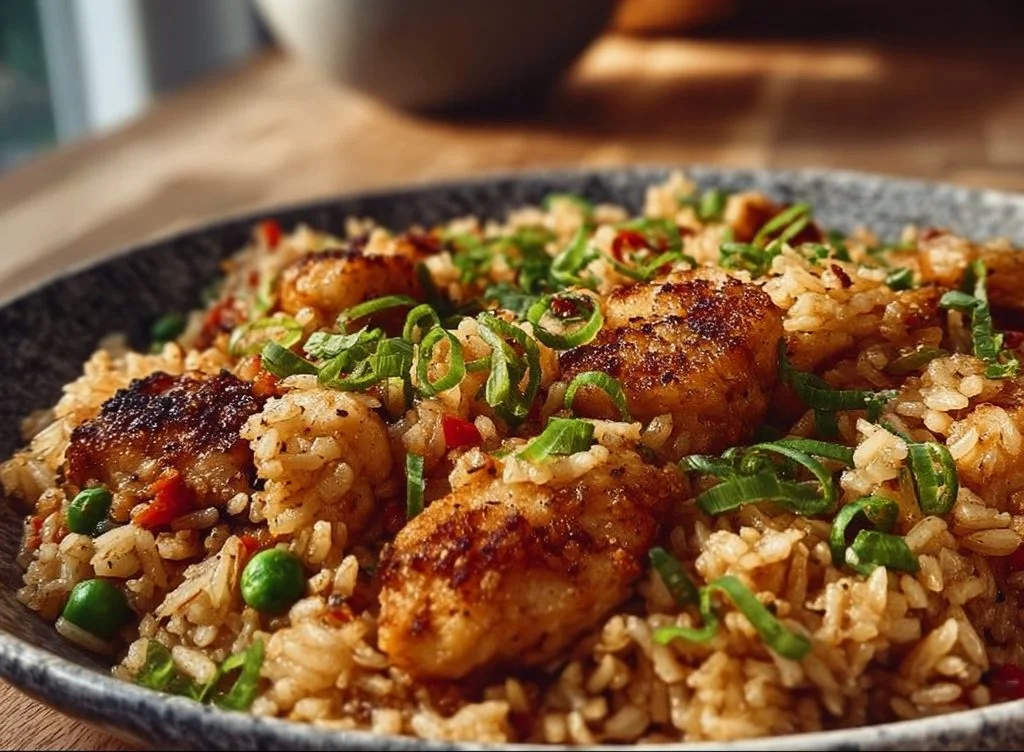
High Protein Crispy Garlic Chicken Fried Rice
Ingredients
Main ingredients
- 1 tablespoon olive oil for cooking
- 1 clove minced garlic for flavoring
- 1 lb chicken thighs cut into pieces
- 1 large egg beaten for scrambling
- 4 cups chilled rice previously cooked and cooled
- 3 tablespoons soy sauce for seasoning
- 1 tablespoon sesame oil for flavor
- 1 tablespoon rice vinegar for additional tang
- 1 teaspoon black pepper to taste
- 3 scallions sliced for garnish
- 1 tablespoon sesame seeds for garnish
Instructions
Preparation
- Heat 1 tablespoon of olive oil in a large skillet or wok over medium-high heat until it shimmers. Add the minced garlic and cook for about 30 seconds, stirring constantly until it becomes fragrant.
- Add the chicken pieces in a single layer and let them sit undisturbed for 2-3 minutes to develop that golden crust. Then stir and continue cooking for another 5-7 minutes until chicken reaches 165°F internal temperature.
- Add the remaining tablespoon of olive oil to the same skillet. Pour in the beaten egg and scramble it quickly until just set, about 1-2 minutes.
- Add the chilled rice to the hot skillet and press it down with your spatula to break up any clumps. Let it fry undisturbed for about 1 minute to get some crispy bits, then stir-fry for another 1-2 minutes until heated through.
- Return the cooked chicken and scrambled egg to the skillet. Add the soy sauce, sesame oil, rice vinegar, and black pepper. Toss everything together vigorously for about 1 minute until well combined.
- Remove from heat and stir in the sliced green onions. Transfer to a serving dish and sprinkle with sesame seeds.
Notes
Nutrition
Step-by-Step Instructions
Follow this precise order to get crisp rice and perfectly cooked chicken, with each step giving clear action and expected result.
- Action: Heat 1 tablespoon of olive oil in a large skillet or wok over medium-high heat until it shimmers. Add the minced garlic and cook for about 30 seconds, stirring constantly until it becomes fragrant. Immediately proceed to the next step to prevent the garlic from burning.
Expected result: Fragrant, lightly golden garlic, not bitter. - Action: Add the chicken pieces in a single layer and let them sit undisturbed for 2-3 minutes to develop that golden crust. Then stir and continue cooking for another 5-7 minutes until the chicken reaches 165°F internal temperature and is golden on all sides with no pink inside, total chicken cooking time, 7-10 minutes. Remove the chicken from the skillet and set it aside on a plate.
Expected result: Golden sear and juicy interior, safe 165°F doneness. - Action: Add the remaining tablespoon of olive oil to the same skillet. Pour in the beaten egg and scramble it quickly until just set, about 1-2 minutes. Break it into small pieces with your spatula, then remove and set aside with the chicken.
Expected result: Soft curds that will reheat without overcooking. - Action: Add the chilled rice to the hot skillet and press it down with your spatula to break up any clumps. Let it fry undisturbed for about 1 minute to get some crispy bits, then stir-fry for another 1-2 minutes until heated through and slightly crispy.
Expected result: Crisp patches of rice and separated grains. - Action: Return the cooked chicken and scrambled egg to the skillet. Add the soy sauce, sesame oil, rice vinegar, and black pepper. Toss everything together vigorously for about 1 minute until well combined and heated through. The rice should look glossy and evenly coated.
Expected result: Evenly seasoned, glossy fried rice with integrated protein. - Action: Remove from heat and stir in the sliced green onions. Transfer to a serving dish and sprinkle with sesame seeds for a restaurant-quality finish.
Expected result: Bright, aromatic finish and visual contrast.
Variations & Substitutes
Swap proteins, grains, or flavor elements to match diets, regional tastes, or time constraints. Each substitute changes texture and nutrition, so pick based on priority, speed, or flavor.
Options and how they change the dish
– Swap chicken for tofu, firm, pressed, increase cooking time by 2 minutes, lowers saturated fat and keeps protein high.
– Use brown rice, 10 minutes extra reheating time, more fiber and slightly chewier texture.
– Add kimchi, 1 tablespoon per serving, adds tang and probiotics, increases sodium.
For easy sandwich ideas that complement this meal, see our 3 easy high protein sandwich recipes.
Mistakes to Avoid
Common errors ruin texture or undercook protein. Below are five frequent mistakes and simple fixes, in checklist format for quick reference while cooking.
Checklist of common beginner errors
– Using freshly cooked hot rice, fix by chilling rice 2+ hours or using overnight rice.
– Crowding the pan, fix by working in batches to maintain high pan heat.
– Burning garlic, fix by adding garlic later or lowering heat for more control.
– Overcooking chicken, fix by monitoring internal temp to 165°F and resting briefly.
– Adding wet sauces too early, fix by combining sauces at the end for glossy coating.
Chef tip: Press and break cold rice in the pan to expose more surface area for crisping, it is the key to crunchy bits.
Storage and Reuse
Store cooled fried rice in an airtight container in the refrigerator for up to 3 days, or freeze for up to 2 months. Reheat on a hot skillet with a splash of water to revive steam, or microwave covered for 90 seconds then stir.
Practical storage tips
– Refrigerator: 3 days, 4°C recommended.
– Freezer: 2 months in labeled containers.
– Reheat: skillet 3-5 minutes, microwave 60-90 seconds.
Related Recipes / See Also

If you love this, try our Blackened Chicken Alfredo for a creamier, protein-forward option, our high protein sandwich recipes for meal prep lunches, or explore the best high protein breakfast foods to balance daily protein goals.
Conclusion
High Protein Crispy Garlic Chicken Fried Rice is a fast, satisfying meal that balances texture, flavor, and macros. With the right order and chilled rice, you get crisp bites and tender chicken every time. Make it once and you will have a go-to weeknight staple that scales for meal prep or family dinners.
Enjoy cooking and share your results to help others find a reliable, high protein fried rice recipe.