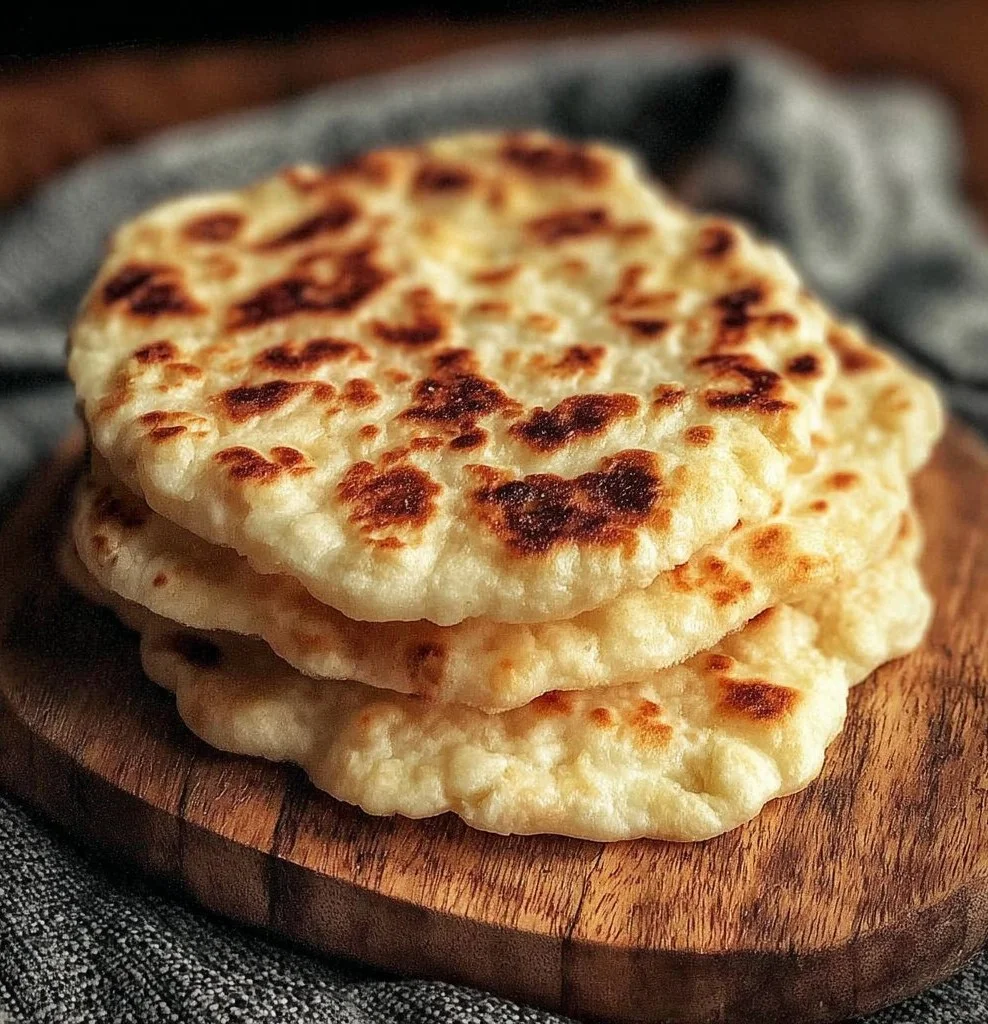
Fluffy Homemade Pita Bread is easier than most people think, and it makes weeknight meals feel special. Did you know fluffy pita puffs at 475°F (245°C) in just 3 to 5 minutes? This guide is optimized for quick reads and social sharing, and it shows precise steps so your pitas puff every time.
Why this guide is better, it focuses on technique, clear timings, and small troubleshooting tips based on tested methods. If you want a sweet finish after dinner, consider pairing with our best fluffy jello recipes for a light dessert.
- Pros: quick bake time, few ingredients, freezer friendly.
- Cons: needs a hot oven and a pizza stone for best puff.
In this guide, you’ll learn how to mix, knead, shape, and bake pitas that puff open for sandwiches and dips.
What Is Fluffy Homemade Pita Bread?
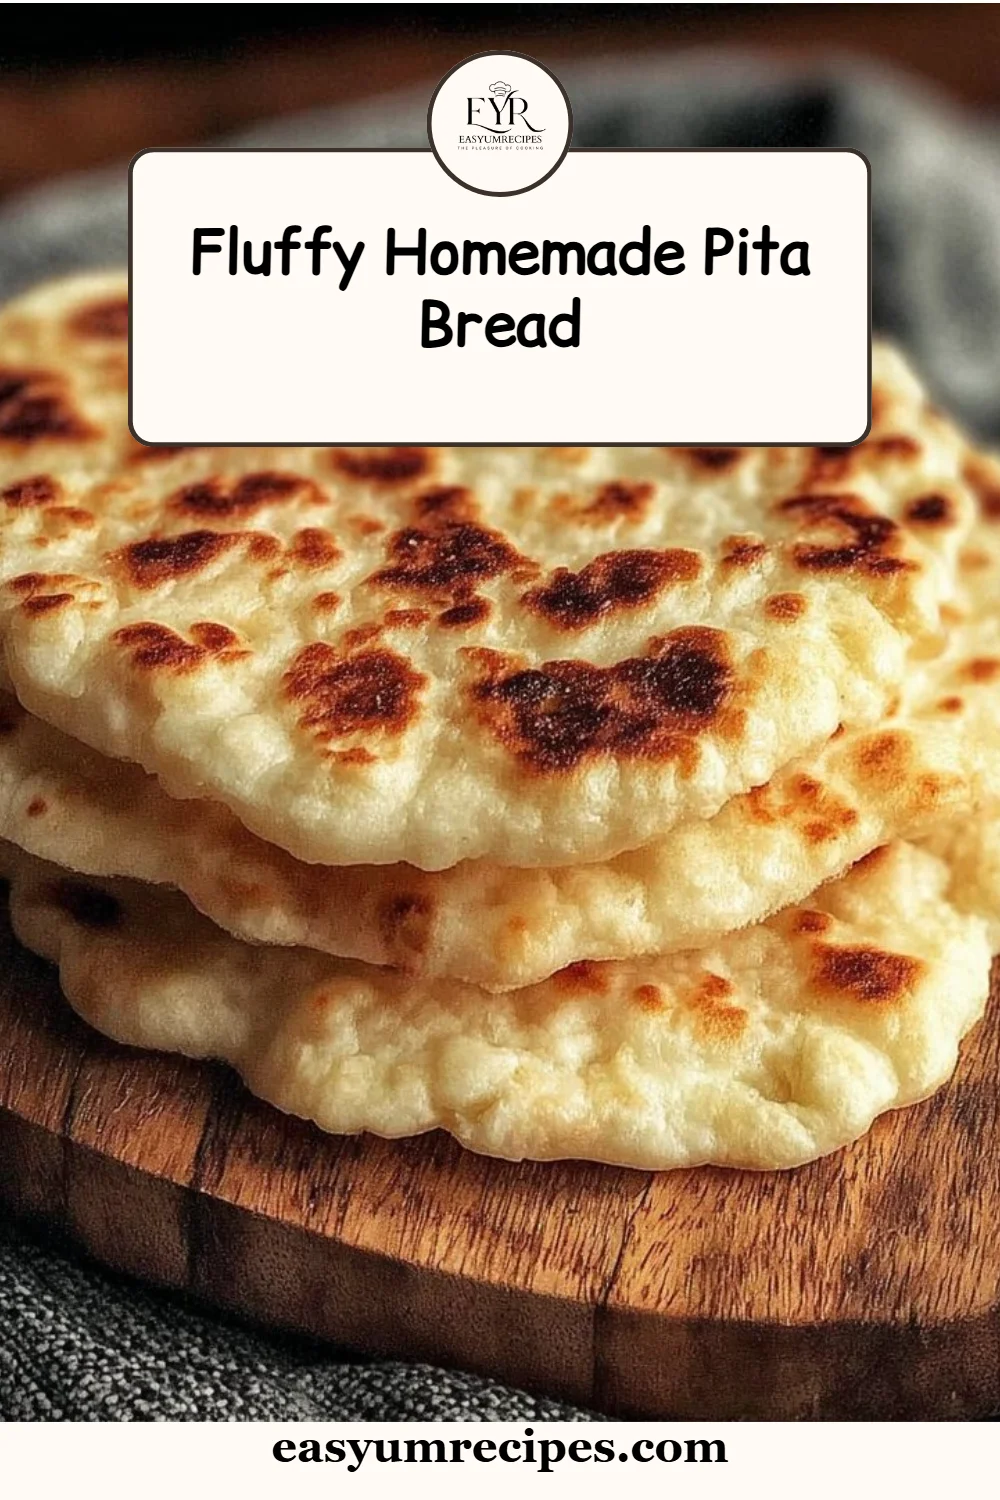
Fluffy Homemade Pita Bread is a soft, round flatbread that puffs into a pocket during high-heat baking. It is traditionally made from wheat flour, water, yeast, salt, and a little oil.
Modern home methods replicate bakery results by using a preheated stone and a well-activated yeast starter. The final texture should be soft, slightly chewy, with a light interior pocket.
- Quick Facts about Fluffy Homemade Pita Bread:
- Typical weight per pita, ~100 g.
- Bake time, 3 to 5 minutes at 475°F (245°C).
- Simple calories per pita, ~170 kcal depending on size.
Nutritional highlights, a 100 g pita often provides ~170 kcal, 6 g protein, and 2 g fiber, depending on flour choice. For official nutrient ranges, see the USDA resources.
PrintFluffy Homemade Pita Bread
Discover how to make soft, pocketed pita bread at home with this easy recipe and pro tips for perfect puffs.
- Prep Time: 15 minutes
- Cook Time: 5 minutes
- Total Time: 90 minutes
- Yield: 8 servings
- Category: Bread
- Method: Baking
- Cuisine: Middle Eastern
- Diet: Vegetarian
Ingredients
- 1 1/4 cups warm water (about 110°F/43°C)
- 1 tbsp sugar
- 2 1/4 tsp active dry yeast
- 3 cups all-purpose flour
- 1 1/2 tsp salt
- 1 cup whole wheat flour (optional)
- 2 tbsp olive oil
Instructions
- Activate the yeast: In a small bowl, mix warm water, sugar, and yeast. Let sit for 5-10 minutes until foamy.
- Mix dry ingredients: In a large bowl, whisk together all-purpose flour and salt. Add whole wheat flour if using.
- Combine and knead the dough: Pour the yeast mixture and olive oil into the flour. Stir until a shaggy dough forms.
- Knead for 8-10 minutes on a lightly floured surface until smooth and elastic.
- First rise: Lightly oil a bowl, place dough inside, cover, and let it rise in a warm spot for 1-1.5 hours until doubled in size.
- Divide and shape: Punch down the dough, divide into 8 pieces, roll into smooth balls.
- Rest dough balls: Cover with a damp towel and rest for 10-15 minutes.
- Roll out: Roll each ball to 1/4 inch (6 mm) thickness.
- Preheat oven: Preheat oven to 475°F (245°C) with a pizza stone inside for at least 30 minutes.
- Bake: Bake 2-3 pitas at a time for 3-5 minutes until puffed and lightly golden.
- Cool: Cool on a rack and cover loosely with a towel.
Notes
For best results, use a hot pizza stone and ensure your yeast is properly activated. Store pitas in an airtight bag for up to 3 days or freeze for up to 3 months.
Nutrition
- Serving Size: 1 pita
- Calories: 170
- Sugar: 1g
- Sodium: 400mg
- Fat: 4g
- Saturated Fat: 0.5g
- Unsaturated Fat: 3g
- Trans Fat: 0g
- Carbohydrates: 32g
- Fiber: 2g
- Protein: 6g
- Cholesterol: 0mg
Step-by-Step Instructions
Follow these tested steps for reliable pitas that puff. Each step lists the action and the expected result for clarity and voice-search friendliness.
- 1. Activate the yeast: In a small bowl, mix 1 1/4 cups warm water (about 110°F/43°C) with 1 tbsp sugar and 2 1/4 tsp active dry yeast. Let sit for 5-10 minutes until foamy.
– Expected result: mixture should be bubbly and smell yeasty, indicating live yeast. - 2. Mix dry ingredients: In a large bowl, whisk together 3 cups all-purpose flour and 1 1/2 tsp salt. Add up to 1 cup whole wheat flour if using.
– Expected result: an even flour-salt blend with no clumps. - 3. Combine and knead the dough: Pour the yeast mixture and 2 tbsp olive oil into the flour. Stir until a shaggy dough forms.
– Expected result: a rough ball that comes together, ready for kneading. - 4. Knead for 8-10 minutes on a lightly floured surface until smooth and elastic. Add flour sparingly if too sticky.
– Expected result: dough should be slightly tacky, elastic, and pass the windowpane test. - 5. First rise: Lightly oil a clean bowl, place dough inside, cover, and let rise in a warm spot for 1 to 1.5 hours until doubled in size.
– Expected result: dough volume doubled, airy on the inside. - 6. Divide and shape: Punch down dough, divide into 8 pieces (~100 g each), roll into smooth balls.
– Expected result: uniform balls, ready to rest. - 7. Rest dough balls: Cover with damp towel and rest for 10-15 minutes.
– Expected result: relaxed dough that rolls out easily without springback. - 8. Roll out to 1/4 inch (6 mm) thickness, keeping small air bubbles inside.
– Expected result: circles that will trap steam and puff. - 9. Preheat oven to 475°F (245°C) with a pizza stone or inverted baking sheet inside for at least 30 minutes.
– Expected result: stone at oven temperature, critical for puffing. - 10. Bake, 2 to 3 pitas at a time, 3-5 minutes until puffed and lightly golden.
– Expected result: fully puffed pockets, lightly browned edges. - 11. Cool on rack and cover loosely with a towel to keep soft.
– Expected result: soft, pliable pitas ready to slice.
Chef tip: If a pita does not puff, try slapping it gently on the counter before baking, this helps redistribute the gas and get a more even pocket.
While the dough rises, you can browse a detailed baking alternative that matches sweet bread techniques in our chocolate zucchini bread guide.
Variations & Substitutes
Adjust flours, hydration, and toppings to suit diets and regions. Each swap alters flavor, texture, and sometimes time to rise.
- Whole wheat: adds 10-15% more fiber, makes pitas denser, may need 10-20 mL more water.
- Olive oil swap: use avocado oil for neutral flavor and similar texture.
- Herbed pitas: add 1-2 tsp dried herbs to dough for aromatic loaves, no change in bake time.
Mistakes to Avoid
Beginners often under-knead, over-flour, or skip the hot stone step. Each mistake has a quick fix.
- Under-kneading, fix by kneading 3-5 more minutes until elastic.
- Too much flour, fix by adding 1 tbsp water at a time to soften.
- Cold oven, fix by preheating 30+ minutes and using an inverted sheet.
- Thin rolling, fix by aiming for 6 mm thickness to trap steam.
- Skipping rest, fix by resting balls 10-15 minutes before rolling.
Storage, Reuse
Store cooled pitas in an airtight bag for up to 3 days at room temperature, or freeze flat for up to 3 months. Reheat on a skillet for 30-60 seconds per side at medium heat.
- Room temp, airtight bag: 3 days.
- Freezer, sealed bag: 3 months.
- Reheat time: 30-60 seconds per side on skillet, or 5-8 minutes in 350°F/175°C oven.
For a savory repurpose, cube stale pita and toast with oil for 6-8 minutes to make croutons, or layer with bananas for a sweet option and check our bread and banana pudding high protein recipe.
Related Recipes / See Also
If you love bread baking, these related recipes offer sweet and practical next steps for your oven time.
- If you enjoy experimenting with moist quick breads, try our banana loaf for bread maker.
- For calorie-aware baking, compare ingredients with our banana bread nutrition data.
- Explore flavors and texture swaps with our best fluffy jello recipes as a dessert pairing.
Conclusion
Fluffy Homemade Pita Bread gives you soft, pocketed flatbreads in under 90 minutes from start to finish. With a hot stone, correct hydration, and a short bake at 475°F (245°C), reliable pitas are easy to make. Enjoy sandwiches, dips, or transform leftovers into crunchy snacks.